After writing this post about the advantages of rubber cutting boards, several eagle-eyed OGT readers left comments and sent emails to inform me that I was holding my knife all wrong. Before that point, I honestly had no idea that there were right or wrong ways to hold a kitchen knife!
So with the help of my daughter Britta, I sought out the expert advice of our favorite professional chef, her husband (and my son-in-law) Neil. He had so many useful tips about knife safety to share with us that I knew I wanted to share them with all of you too, and that’s exactly what I’ll be doing in today’s post.
So I owe big “thank yous” to Neil for setting me straight, and to the readers who drew my attention to this topic. Today’s post wouldn’t exist without you, and now we’ll all benefit from knowing how to hold and use our knives safely!

A Quick Review Of Knife Terms
I found out very quickly that it’s hard to understand how to hold a knife if you don’t know the names for the various parts of a knife. So before we jump in, let’s quickly review some basic knife vocabulary you’ll see used throughout this post:
- Blade – The front section of a knife that has a sharpened edge for cutting.
- Handle – The back section of a knife where it is meant to be held.
- Bolster – The area where the blade meets the handle.
- Spine – The unsharpened top edge of the blade.

How NOT To Hold A Knife
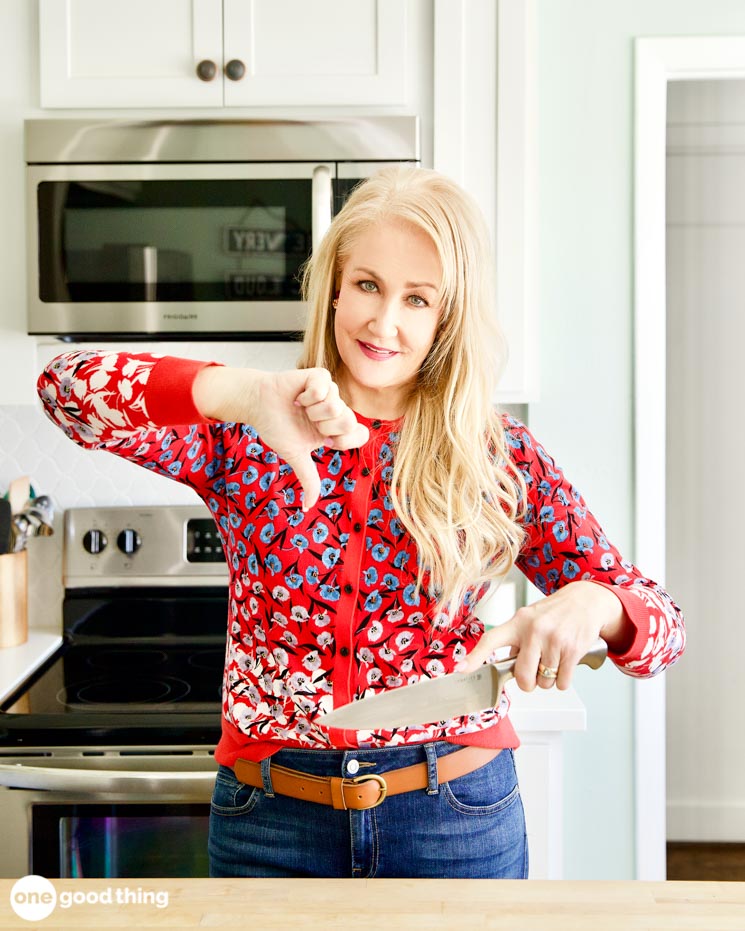
The method I was previously using to hold a knife is called the “finger grip,” and according to Chef Neil, it’s a classic example of how not to hold a knife! With this grip, your index finger is positioned along the spine of the blade, and that’s exactly what makes it such a knife safety no-no.
While perching your index finger along the spine may give you a sense of control over the blade, the added pressure on the spine can cause your finger to slip, or tip your knife to one side or the other.
Slipping and tipping are not at all desirable when handling a sharp knife, so now I know to just say “no” to the finger grip! Instead, switch your grip to one of the safer methods outlined below. :-)
How To Hold A Knife – 2 Safe Grip Options

Option #1 – The Handle Grip
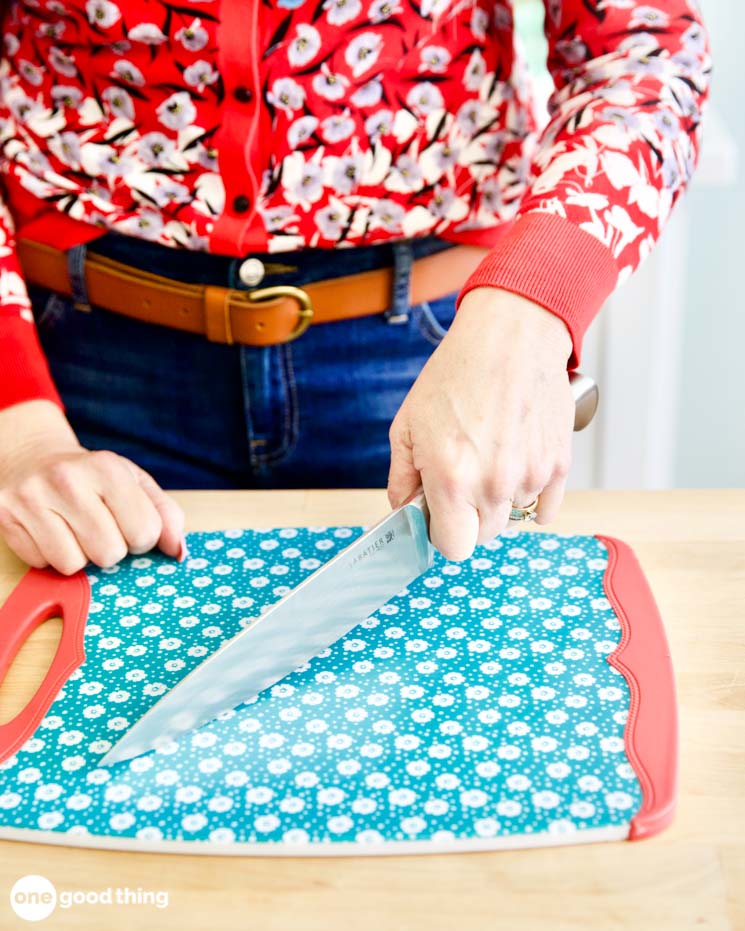
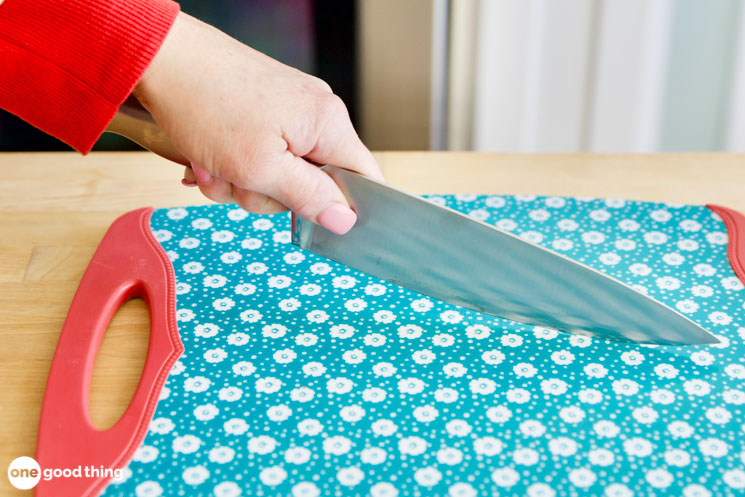
When using the handle grip, your entire hand grips the handle behind the bolster. This is a solid and comfortable grip, making it a good choice both for beginners and people with small hands.

The only real limitation of the handle grip is that it doesn’t allow very precise control for fine cutting and slicing. For more control, consider using the next grip type.

Option #2 – The Blade Grip (AKA The Pinch Grip)
The blade grip (also referred to as the “pinch grip”) is the preferred grip of many experienced cooks and chefs. When using this grip, your thumb and forefinger rest against the blade in front of the bolster, while the middle, ring, and pinky finger are wrapped around the handle.

With the blade grip, your thumb and index finger are positioned at the balance point of the knife. This gives you more control over the tip of the blade, and because you don’t have to use as much force, it’s better for your knife in the long run.

Bonus Tip – Use “The Claw” To Protect Your Fingers
Holding your knife safely is important, but it’s equally important to hold your food safely too. Holding your food safely helps keep your fingers out of harm’s reach while using your knife.
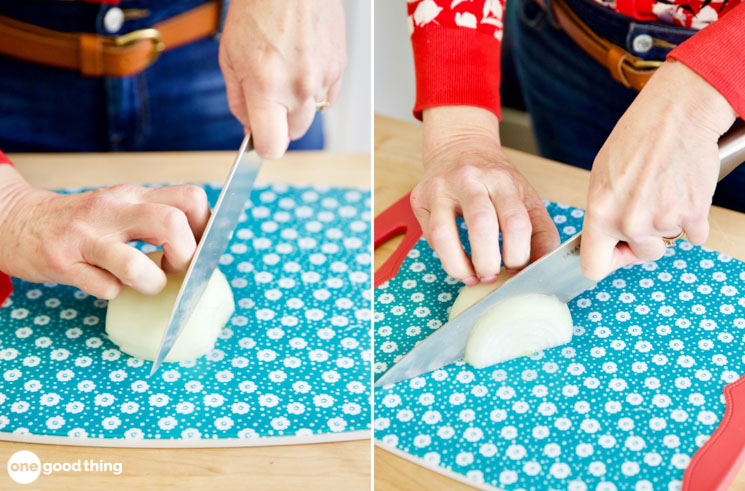
The best way to do this is by using a grip called “the claw.” Hold the food in place with your fingers curled, so that your finger tips are protected and the middle section of your fingers (AKA your “intermediate phalanges”) are perpendicular to the cutting board.
When using “the claw” to hold your food, the flat surface of the middle section of your fingers acts like a safety guard. You can’t really cut yourself unless you raise the blade above your knuckles, so just make sure to keep your knife close to the cutting board and your fingers curled.

Which grip do you use to hold your kitchen knife?

 25 Comments


